Identifying Your Version and Rev1 Content
Looking for our Haptics range? View our main Haptics hub here.
There are a lot of supporting materials and documents for the Haptic Feedback Evaluation Kit, so in order to help users access the correct resources for their needs, we have provided this page to help you identify which version of the kit you own.
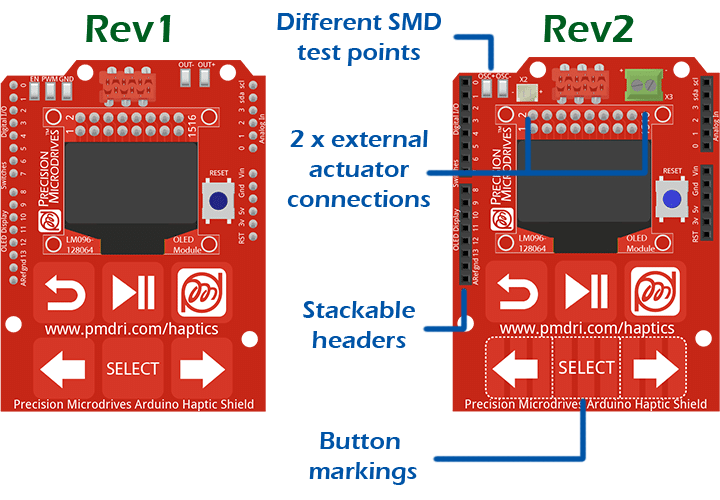
The easiest way to differentiate between the two revisions is the physical components on the Haptic Shield. This is because the Arduino is still the UNO R3 and there are very few changes on the Haptic Grip (all of which are hidden under the rubber housing).
There are a few very noticeable physical differences to help, for example, the Haptic Shield Rev2 has:
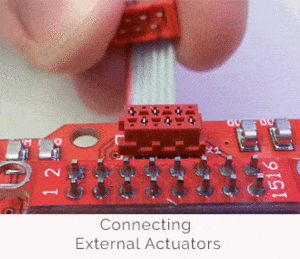
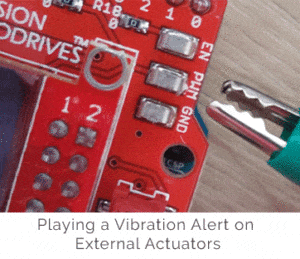
- A Molex header and screw terminal for external actuators
- Black stackable pin headers that slot into the Arduino
- Removed the EN, PWM, and GND test points (which are now accessible on the pin headers) in addition to the OUT- and OUT+ (which are now accessible from the Molex and screw terminals)
- Added two new SMD test points for oscilloscope analysis, OSC+ and OSC-, located in the top left
- 9 capacitive touch panels on the bottom row (12 buttons total), instead of the previous 3
- Additional markings around the new touch panels, grouping the 9 panels into 3 separate buttons
- The marking “REV.2” on the board to the left of the left arrow touch panel
- On the underside, the DRV2605L in a VSSOP package (U1), instead of the previous DRV2605 in a ball gate array package
You can still find content for the Rev1 in the appropriate sections, usually linked at the bottom. If you have any questions or you are looking for particular help with any aspect of the kit, then please do not hesitate to contact our engineers with your questions.

Rev1 Documents And Resources
If you are looking for the resources for the Rev1 kit, you can find them in the download box in the top right of this page or click the button below.
Rev1 Code And Sketches
Looking for previous versions of the codes for the Haptic Feedback Evaluation Kit? You’re in the right place! See the list below for different revisions.
To check which version of the Haptic Feedback Evaluation Kit you own, please see this page!
Software Revision 1.1
| M20-200 Revision | Arduino Version |
|---|---|
| Rev1 | 1.6.x |
This is the release of software to support Arduino’s upgrade of it’s IDE to version 1.6.x and beyond. If your kit was shipped after the 2nd March 2015, it will have included the version of the IntroMode below as default.
Software Revision 1.0
| M20-200 Revision | Arduino Version |
|---|---|
| Rev1 | 1.0.x |
This is the original release of software for the Haptic Feedback Evaluation Kit. If your kit was shipped prior to 2nd March 2015, it will have included the version of the IntroMode below as default. For those who have upgraded the Arduino IDE to version 1.6.x, please use the most recent Modes of Operation above
You can also find a download of previous versions of the Arduino IDE here.
Rev1 Haptic Feedback Evaluation Kit Tutorials
Whilst the example applications below take you through developing a basic prototype, the tutorials listed here are to help you use some of the additional features of the kit.
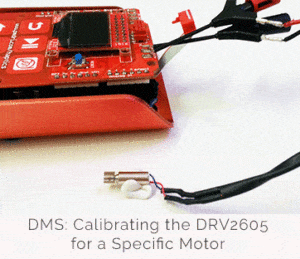
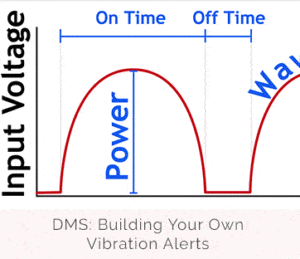
DMS stands for Development Mode Series, these refer to using features of the Haptic Feedback Evaluation Kit available in Development Mode.

Get in touch
Speak to a member of our team.
Motor catalogue
Looking for our products?
Reliable, cost-effective miniature mechanisms and motors that meet your application demands.
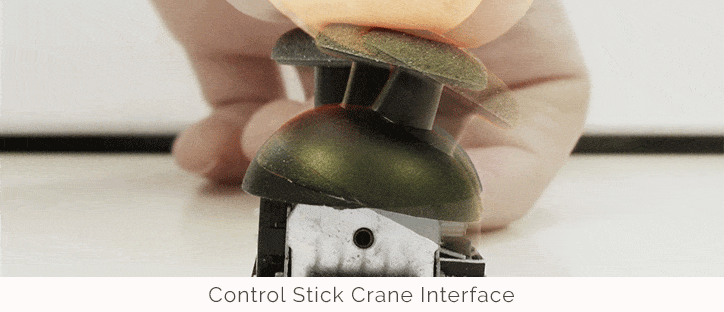
Rev1 Haptic Feedback Evaluation Kit Example Applications
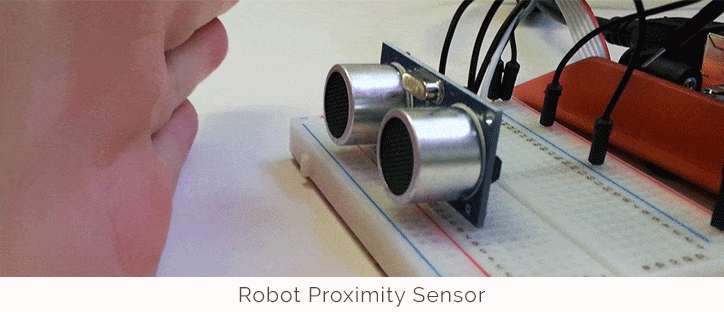
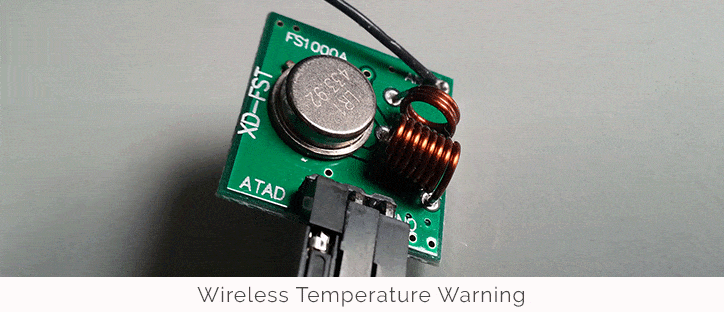
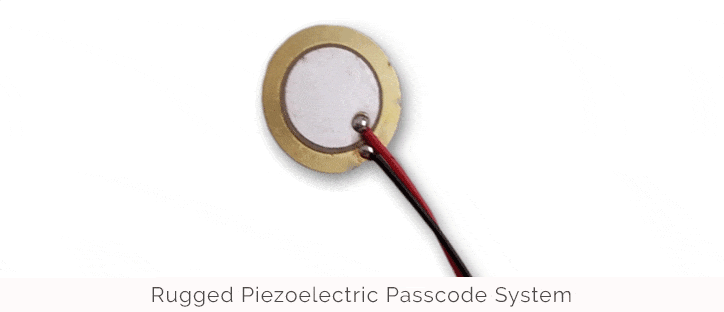
How can the Haptic Feedback Evaluation Kit be used to prototype? Here you’ll find a collection of example applications that demonstrate the process.
Our tutorials will show you how to do specific tasks, like changing modes of operation or connecting an external actuator, but these examples look at the design process. We’ve included the code we used and explanations on how to connect the required sensors. Have a browse below to see what’s possible!

Newsletter
Sign up to receive new blogs, case studies and resources – directly to your inbox.

Sign up
Discover more
Resources and guides
Discover our product application notes, design guides, news and case studies.
Case studies
Explore our collection of case studies, examples of our products in a range of applications.
Precision Microdrives
Whether you need a motor component, or a fully validated and tested complex mechanism – we’re here to help. Find out more about our company.